
Step by step
Making a Macgee Blanket
Follow Pam as she crafts a blanket from spools of threads to a beautiful finished piece with a photo series by Tisdale.

Step 1
Design
As one is wont to do when starting a new creation, much planning occurs before any machines are turned on or wefts woven.
The first choice the weaver makes is fibre selection. Will it be wool or cotton or a 50/50 blend of each? The choice can be simplified by the weather; is it spring and a cotton blanket will be in higher demand? Are the holidays fast approaching and the masses will be crying out for all things cozy?
Fibres selected, the next choice is colour selection. Though it may seem whimsical, grabbing cones of yarn from the shelves, colour combining is an art. The skilled weaver knows that not all colour combinations will be harmonious once woven and so must carefully select a palette based on experience, intuition, and a little luck.
Once the colours have been chosen, the pattern of the warp, (the vertical threads of the blanket) is the next phase of design. Blankets are made in one long continuous warp that can be woven with different colours across, meaning a collection is created based on one single warp design. The weaver decides what this warp will be before they do anything with tools and machines.

Vertical threads on the warper. The arrangement of the warp threads creates the basis of the design

Step 2: The Action Begins
Setting Up The Creel
The Creel is a large rolling rack that holds the cones as the threads are pulled onto the warper. The position of the colours on the creel determines how the threads will line up in the warp. They are wound around tension knobs to ensure the warp has no sagging threads.

Threads flow from the creel through the reed onto the warper


Step 3: Strand by strand
Threading the Reed
From the creel, the threads are pulled through a metal-like comb called a reed, at intervals which allow every other thread to be separated. The tension and thread organization is important at this stage as to create a warp pattern which is repeating and unflawed.

Threads are spun onto the warper, Pam is careful to keep the same tension throughout


Step 4
Making the Warp
The warper is a large, looming machine, this one from 1895, onto which the vertical threads of the blanket are spun. Long continuous threads are wound all around the machine until the width and length of the full collection of blankets is achieved.
Once the warp is ready, the threads are beamed off the large wheel onto a smaller, tighter spool that will then be loaded onto the loom.
To determine what a warp looks like, you can look at the fringed ends of a blanket. Often a blanket may look multicoloured or in the case of houndstooth, like squares of colour, but the fringe will show you that it is in fact, vertical stripes.

Threads are tied off as the warp is finished and ready to be beamed off

Step 5
Onto The Looms
The spool of warp is loaded and secured onto the loom and then, each individual thread is hand-tied onto the loom. A process that takes time and concentration.
Once the warp has been tied on, it is ready to be woven. Though the looms are 'automatic' as the shuttle (which contains the bobbin of weft thread), darts back and forth across, the weaver must watch the 'pick' (each cross back and forth of the shuttle) to spot and repair any broken threads. The dobcross loom is very much hands-on, no setting and forgetting here.
The pattern of the blanket is determined by large industrial chains that need to be changed out by hand when the weaver chooses a new pattern (houndstooth, herringbone, etc).

Pam watches each 'pick'of the shuttle to catch any loose threads as they might occur

Step 6
Finishing
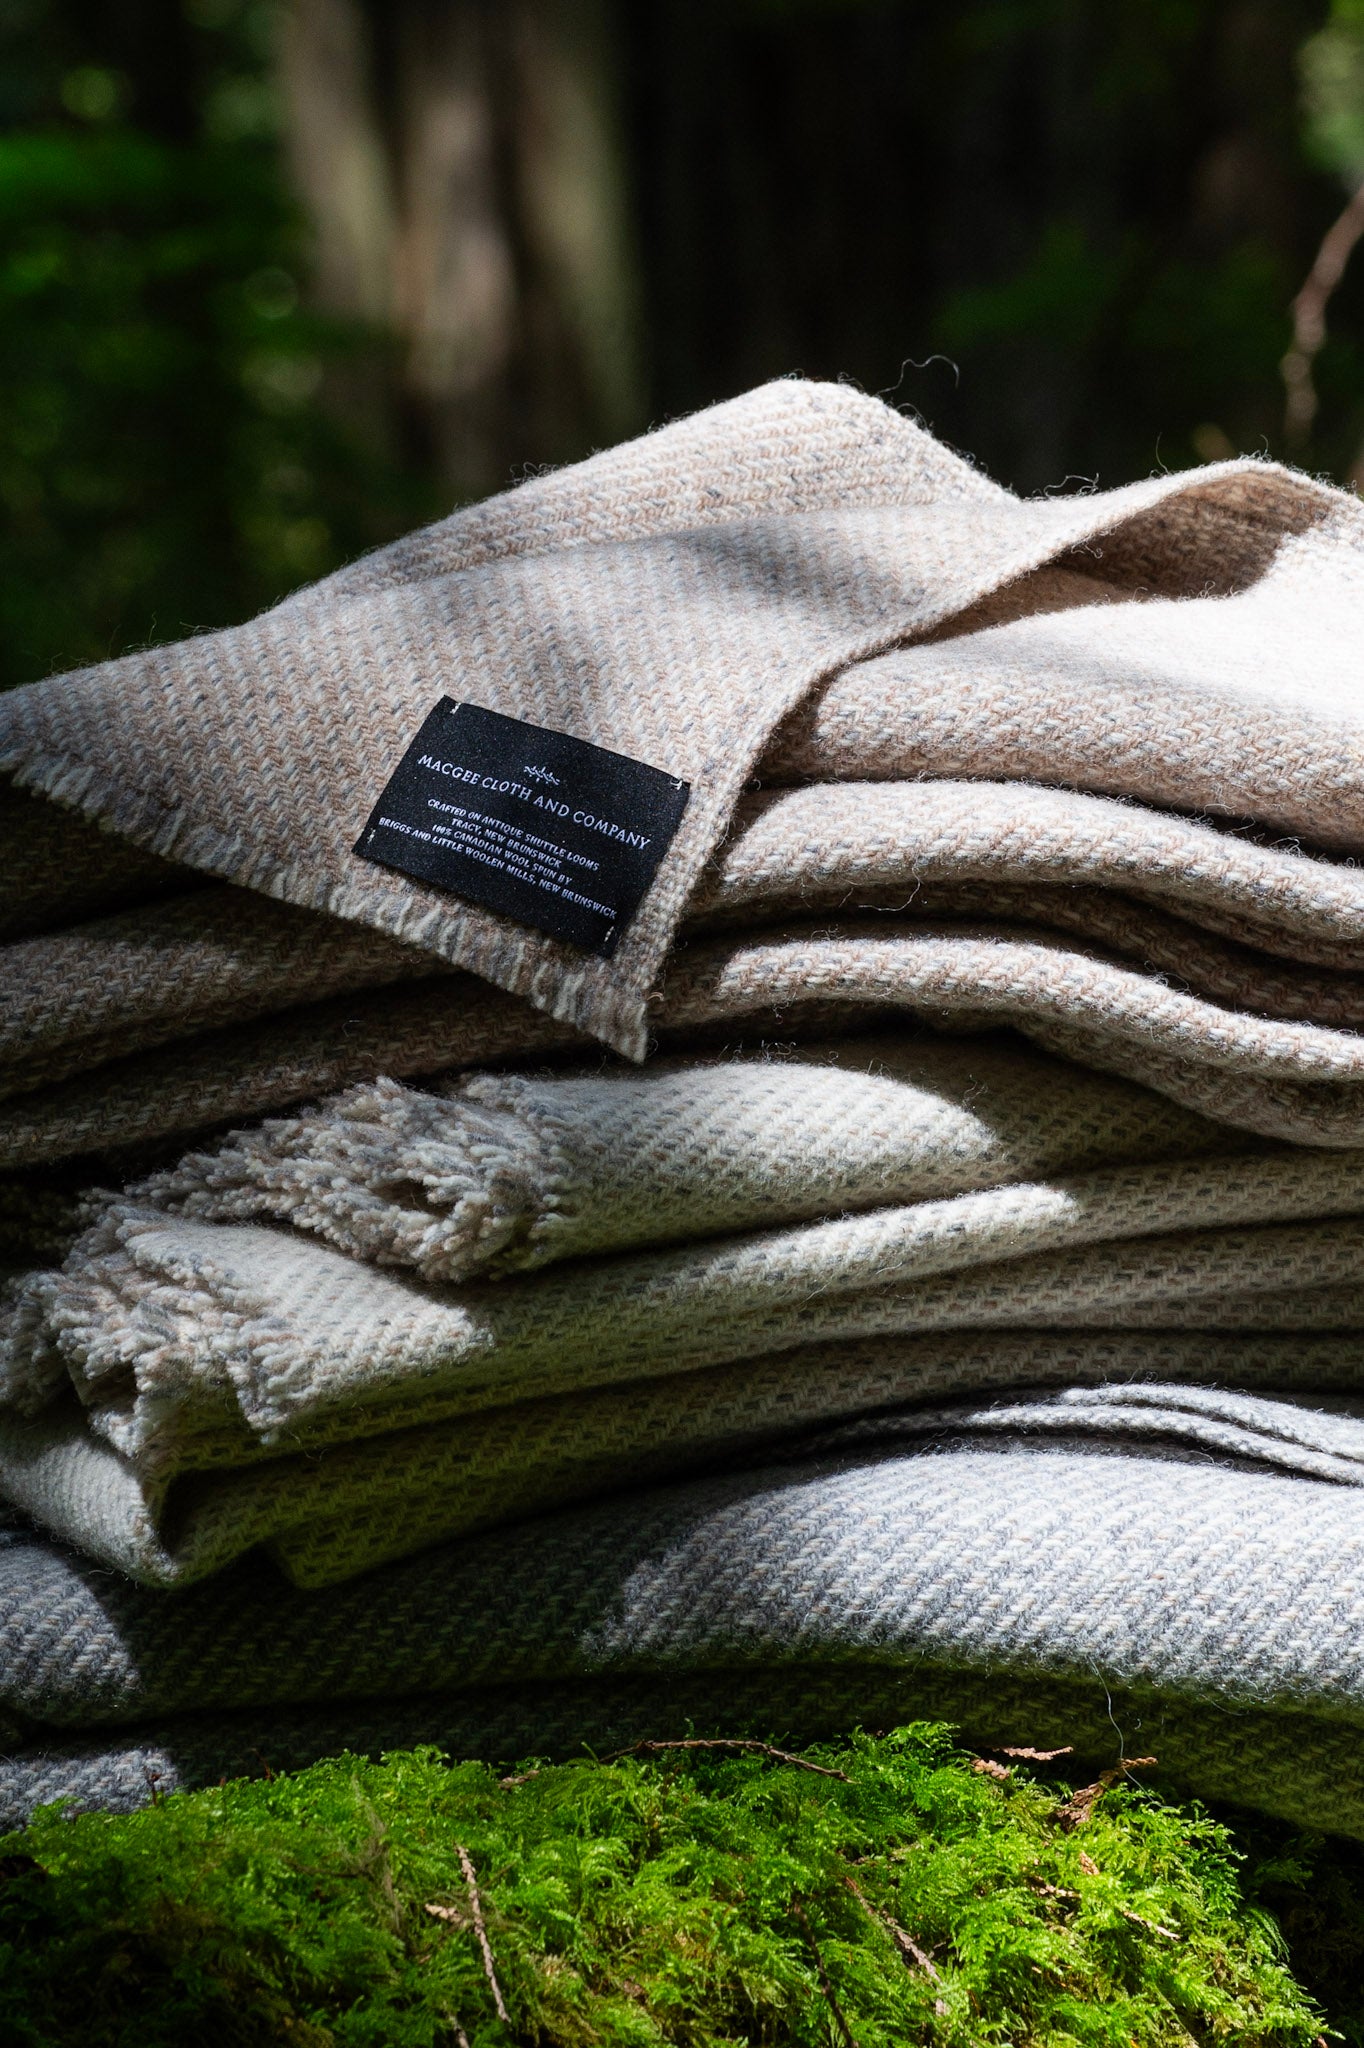
The blankets are individually finished by hand. When a blanket comes off the loom is is completely different than when it is ready for sale. A 'fresh' blanket is rough, with a scraggled edge where it has been cut from the other blankets. It often doesn't resemble a blanket at all!
First, the fringed edge is secured with a seam to stop fraying.
Then the blanket is scoured, or washed, in a water temperature depending on the type of fibre. Once it is scoured, it is dried, again depending on the type of fibre.
Once dry the blanket is now felted (wool) or preshrunk (cotton) it is nearly ready.
The fringe is cut short or long, depending on the design of the blanket.
Then each blanket is individually pressed with a tailor’s iron and combed to remove fluffs and to ensure a smooth, refined feel.
Finally, the very last step, the label is sewn on, and the blanket is ready!

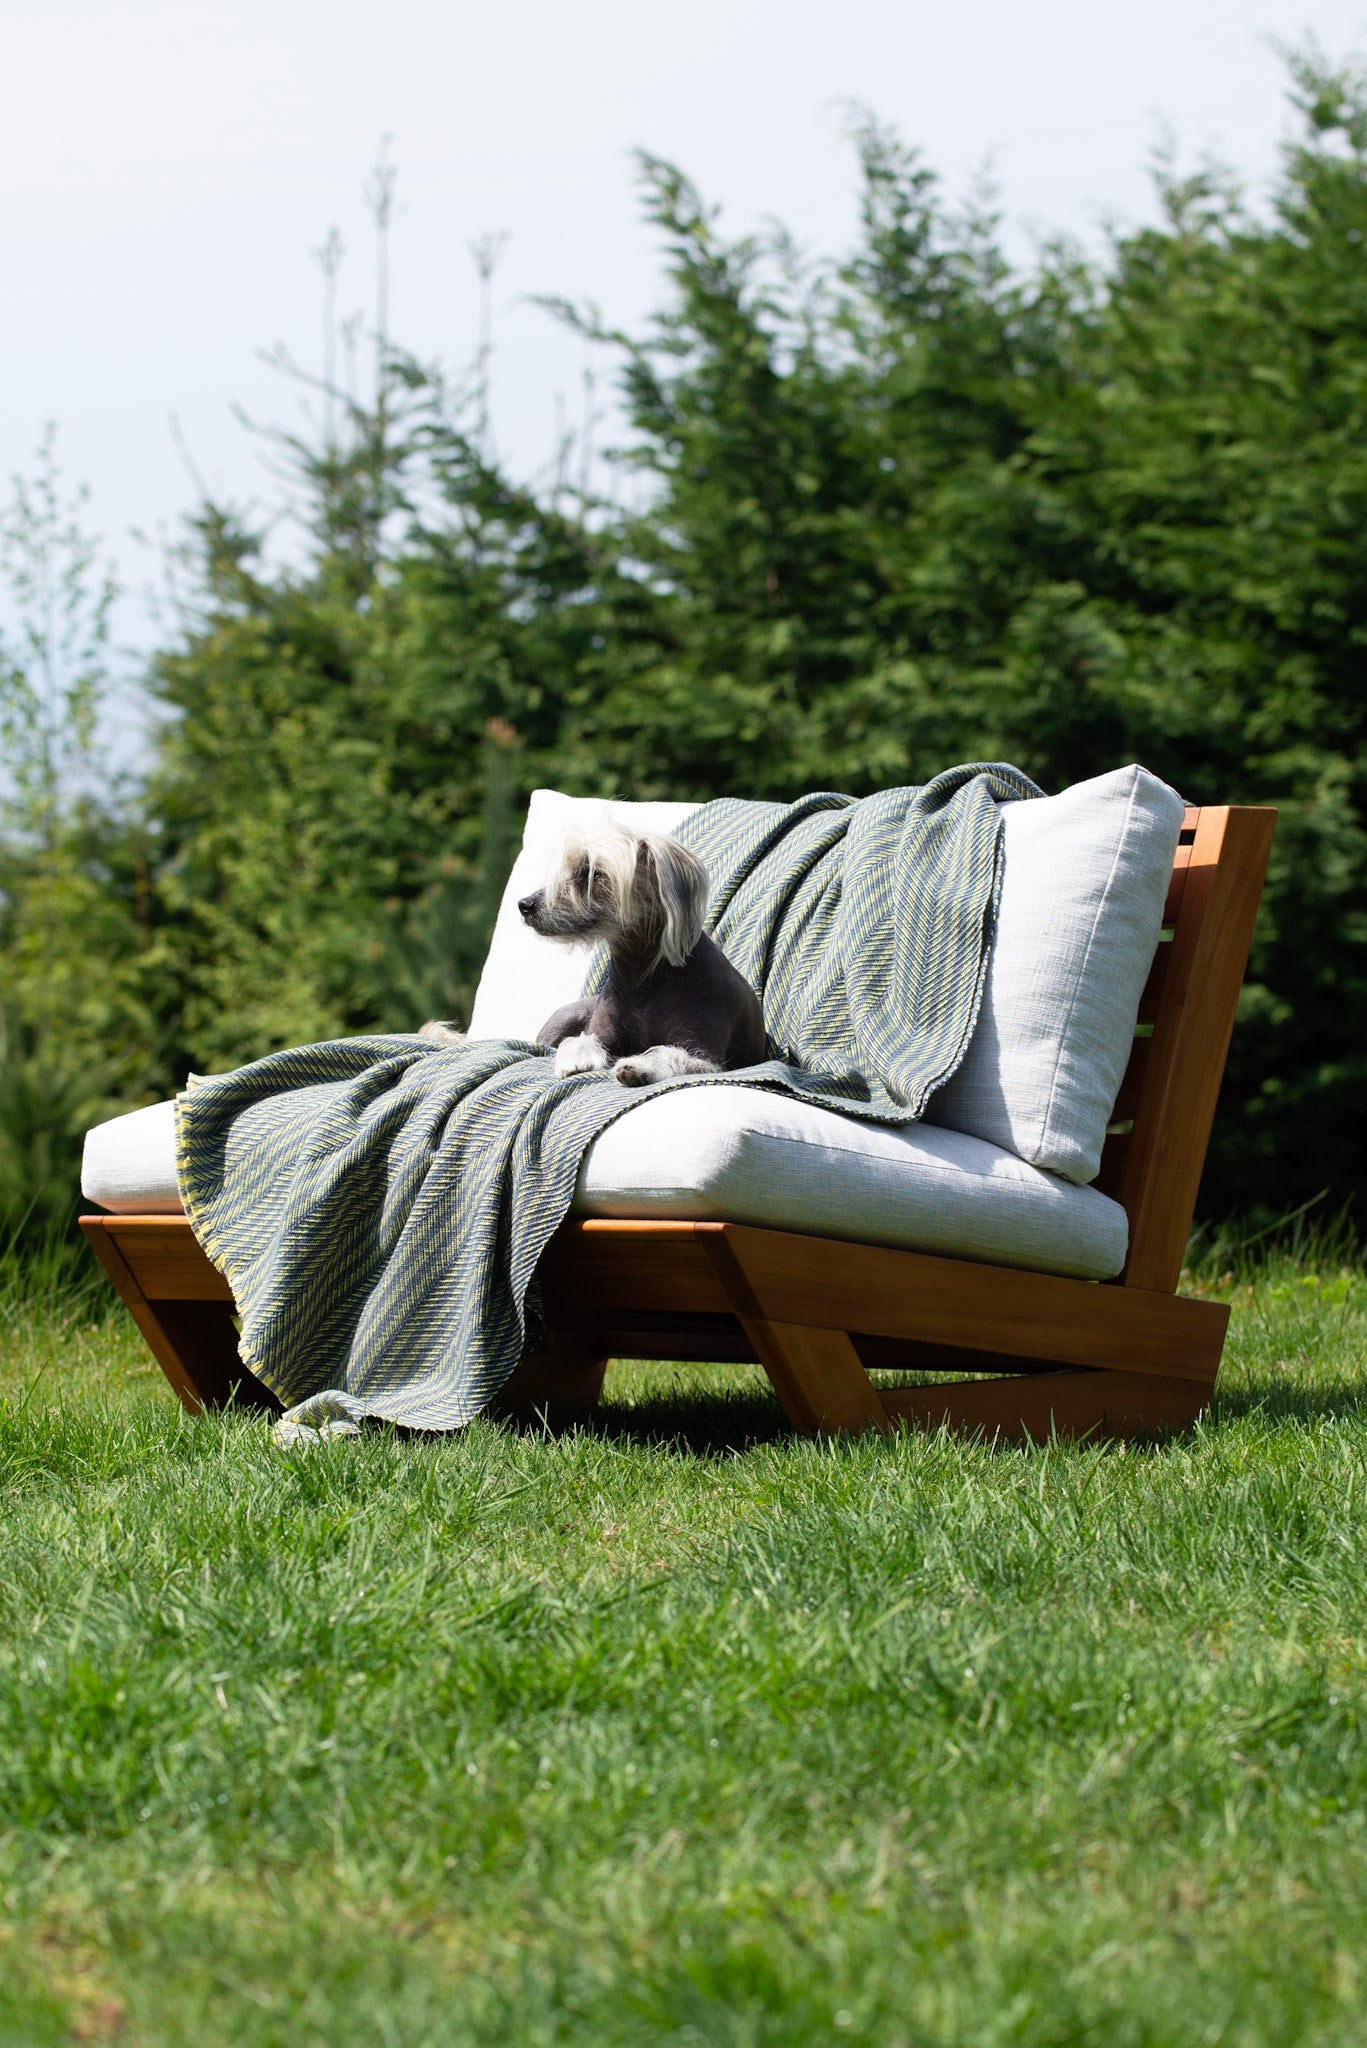
A finished Macgee Cloth lambswool throw
Continue Reading
There's More to Learn

Her Story
A trip to Spain prompted a mission in doing the impossible: tracking down machines from a century ago and restoring them to their former glory.
Follow the Adventure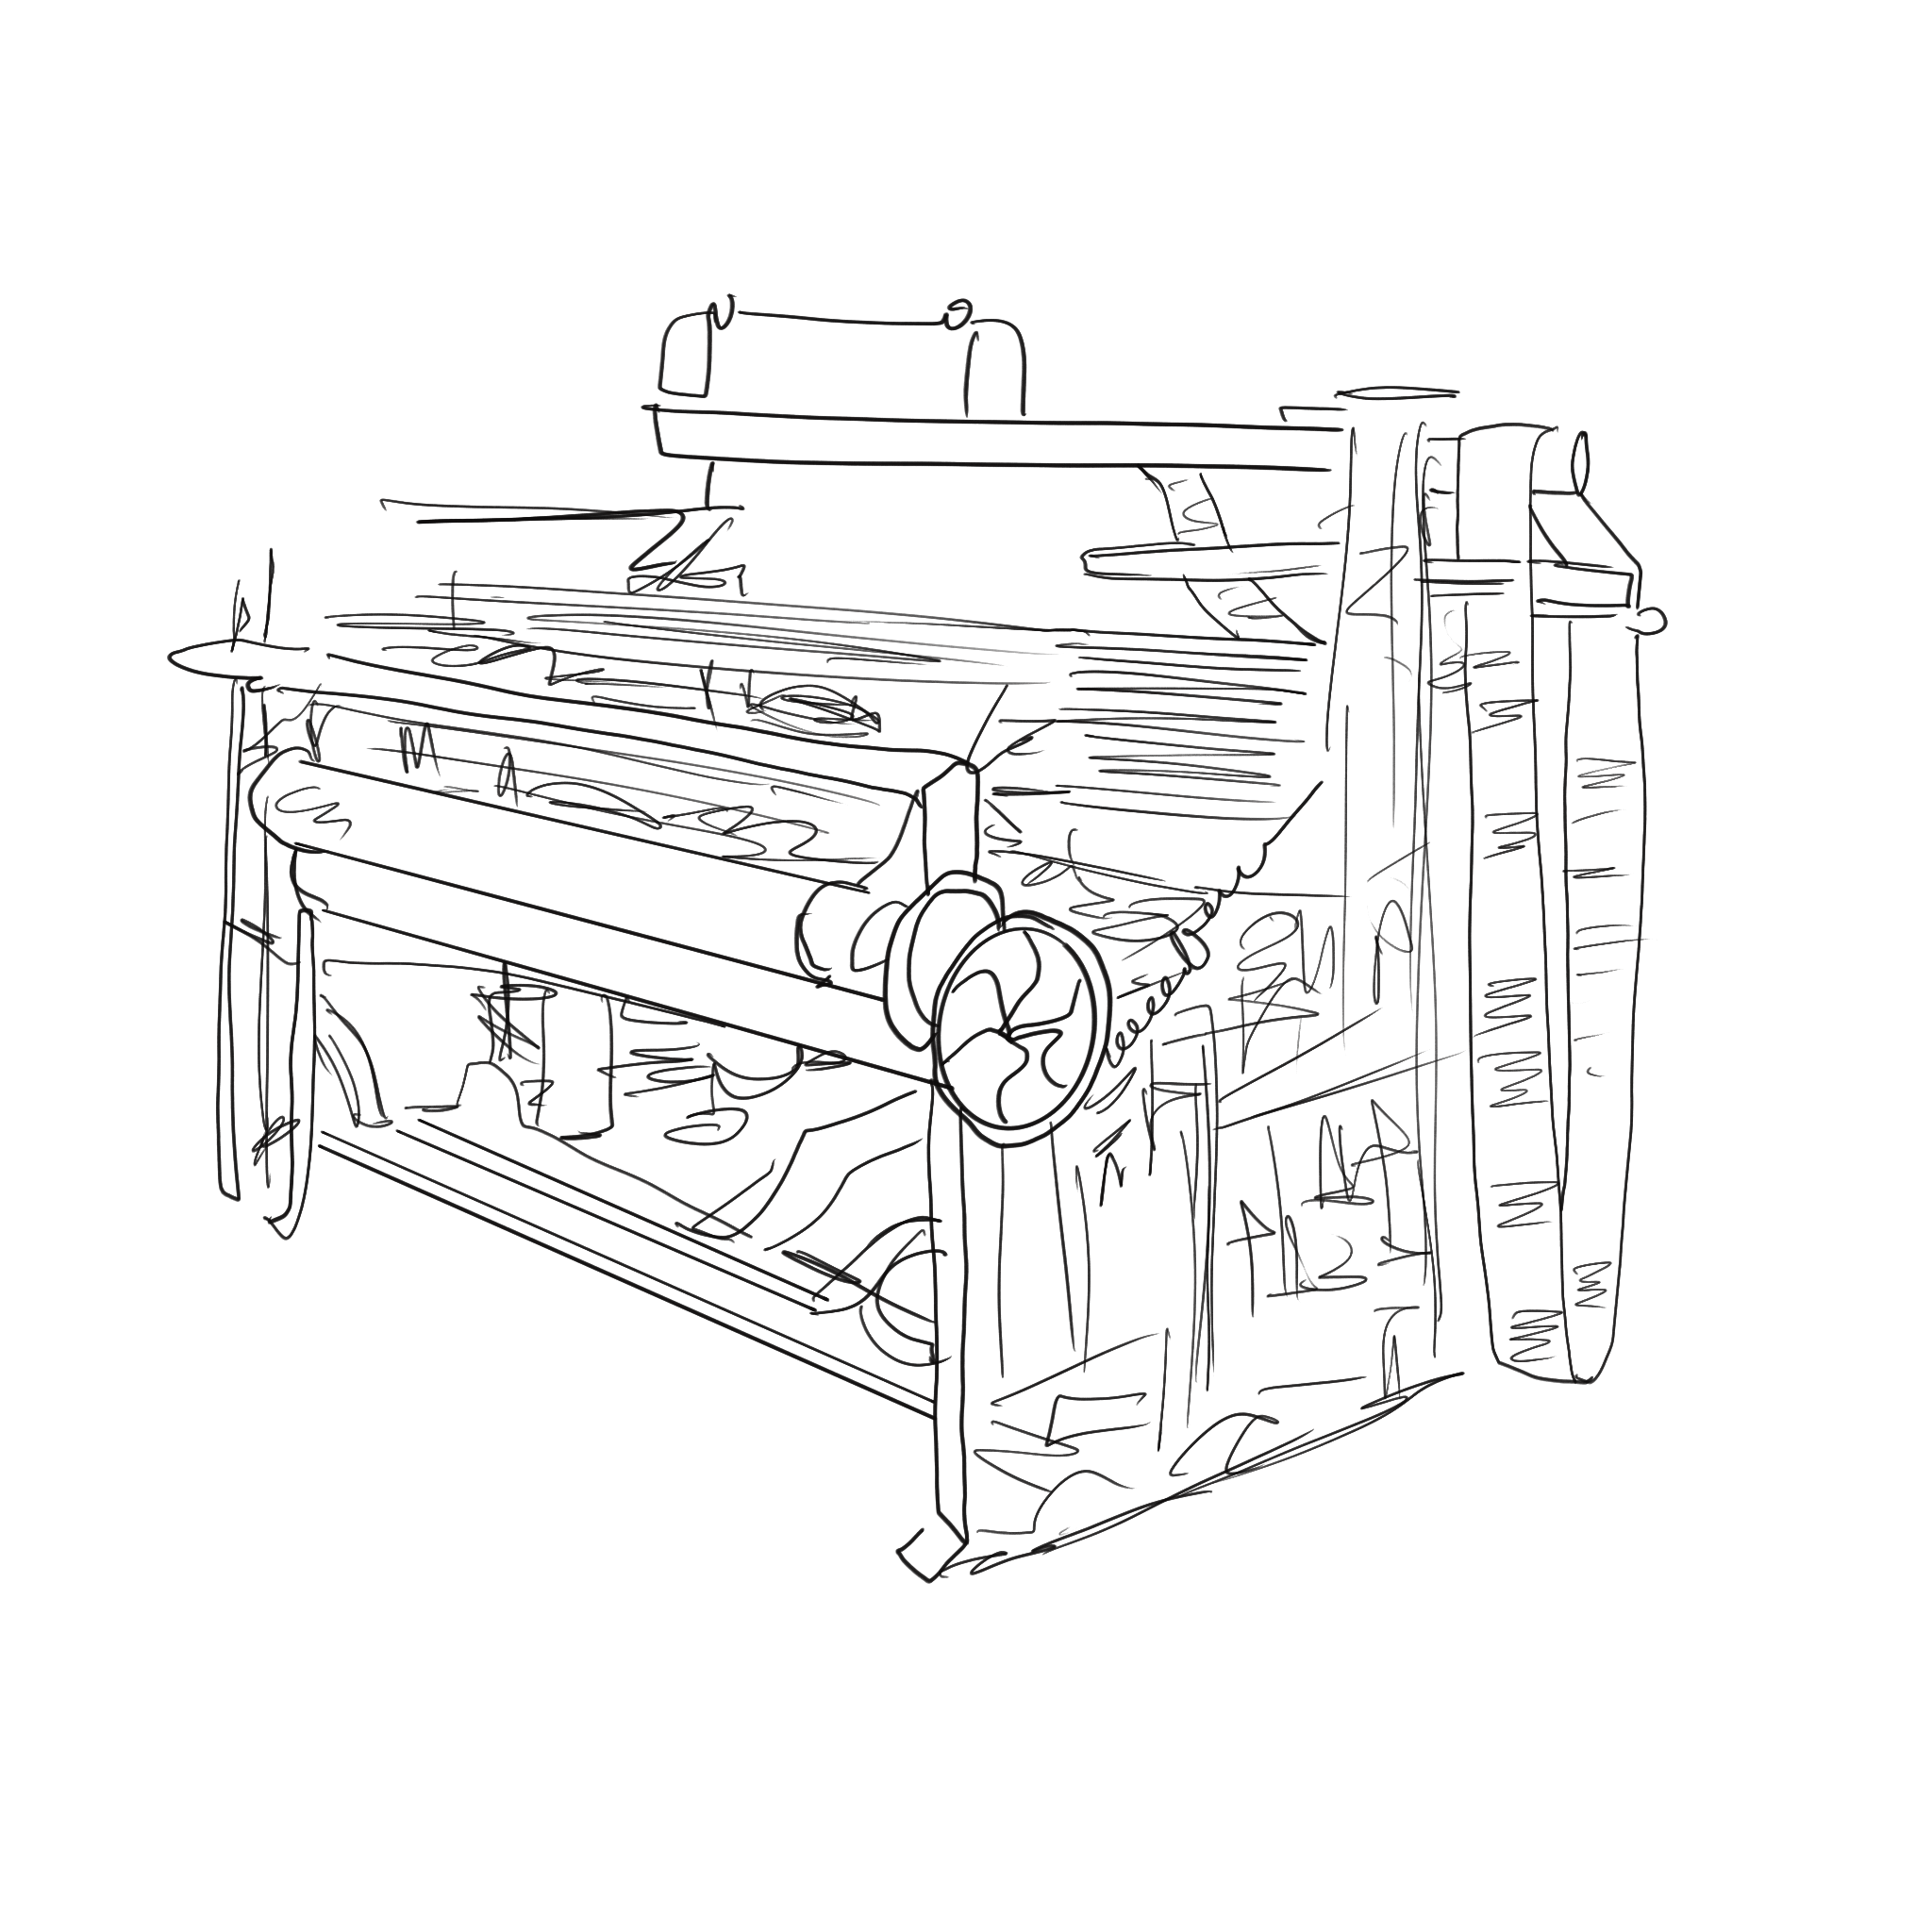
The Machinery
Discarded looms found in a shed in the fields of Yorksire, a warper from the 1800s, these are the machines of a bygone era, hulking dinosaurs that hum again.
Understand the Process
The Fibres
Who can say exactly where the threads in their blankets came from? Pam can. Each and every fibre woven into a Macgee blanket has true provenance.
Discover the Origin
Pam prepares a shuttle with a bobbin at her 1930s Dobcross Shuttle Loom